What do you imagine when you hear “wildlife cinematography”? A lonely DP hiding in the bushes for days, hoping to get a close-up shot of a rare animal? A run-and-gun video shoot where the cameras are always rolling and what they capture is left to a lucky chance?
Well, not quite. Although filmmakers working in this area know how to be spontaneous, there is a lot of preparation and technique behind their visuals. Our freshly launched MZed course on wildlife cinematography covers a great variety of theories and practical tips on this topic.
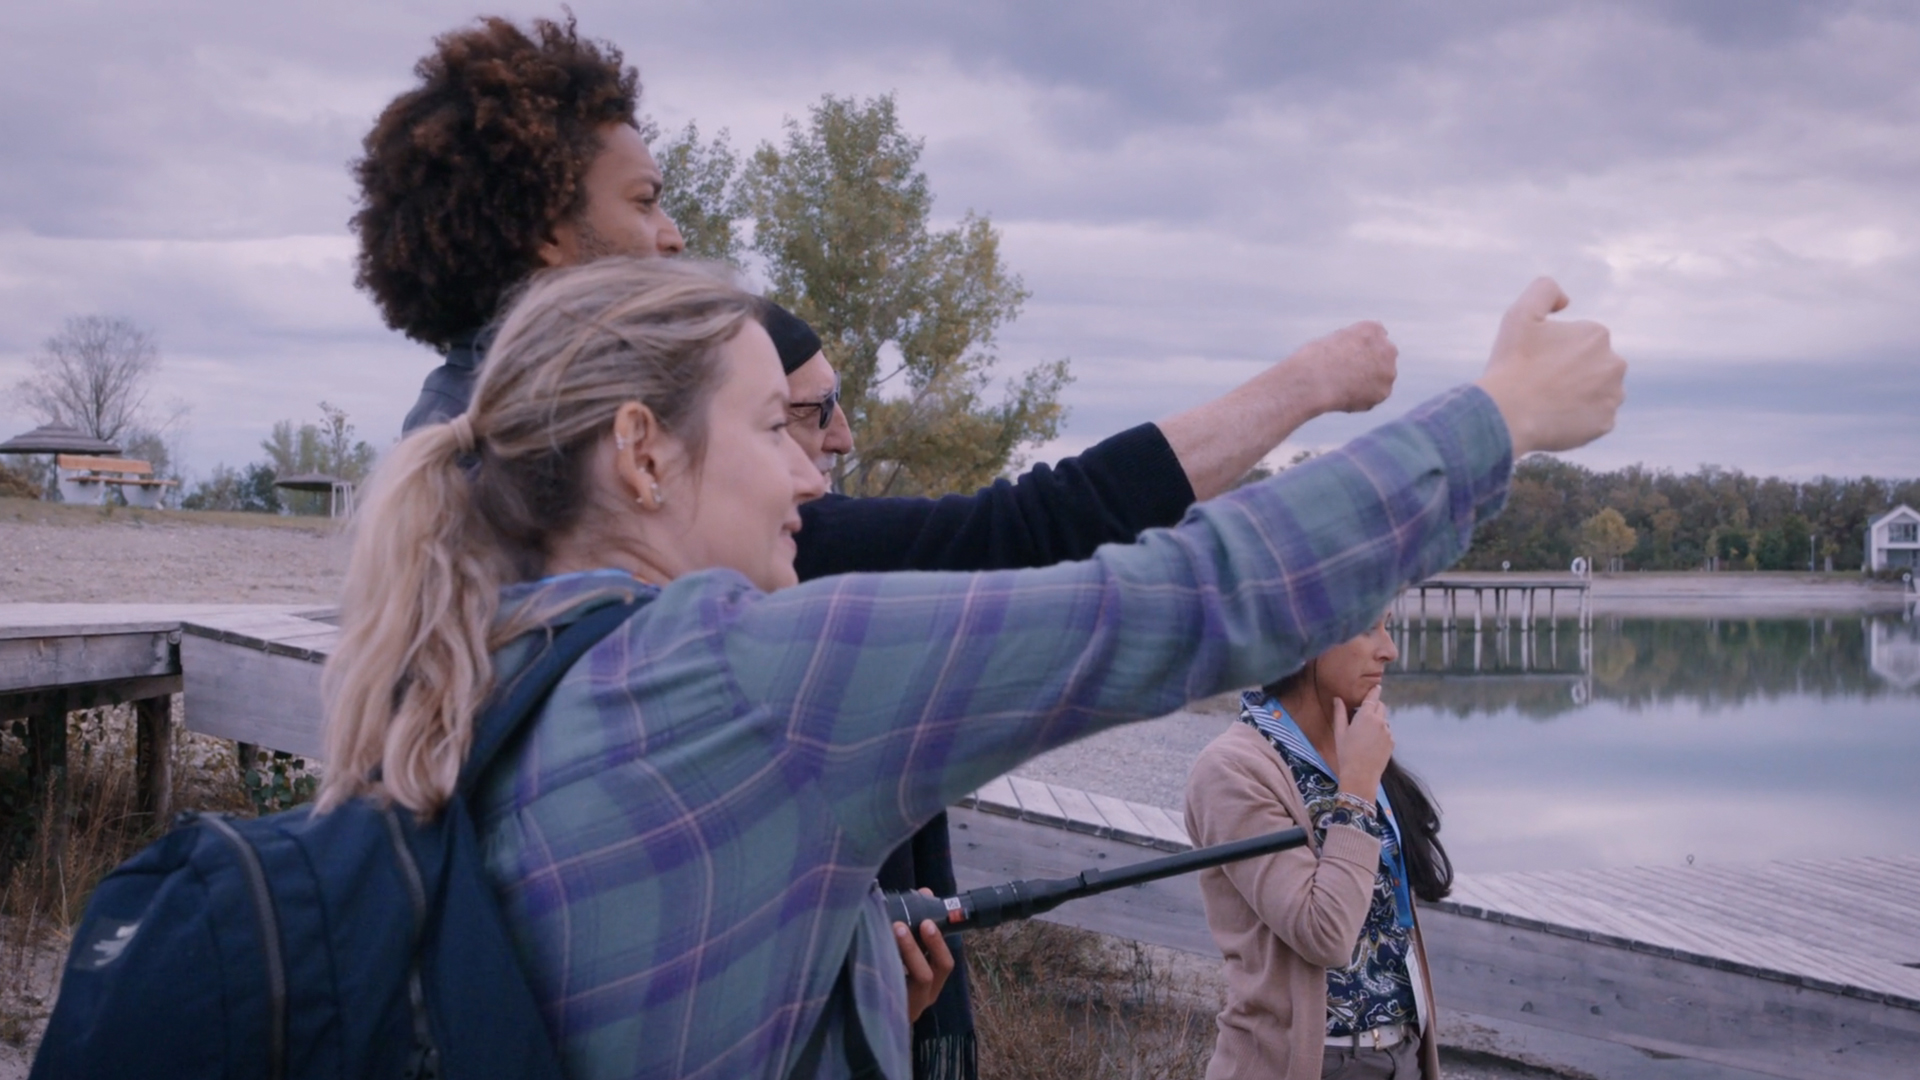
This 4+ hour course covers a 4-day workshop held by cinematographers Paul Atkins, ASC and Stephen Lighthill, ASC as they unveil the wildlife filmmaking techniques used during the “Cinematography Lab” class as part of the Jackson Wild Film Festival in Austria in the fall of 2022. Together with the international attendees, they go out into nature and look for stories, sharing the experience and providing a lot of useful advice on the way. Below, you will get a sneak peek of what you can learn from the masters.
Meet Your Instructors
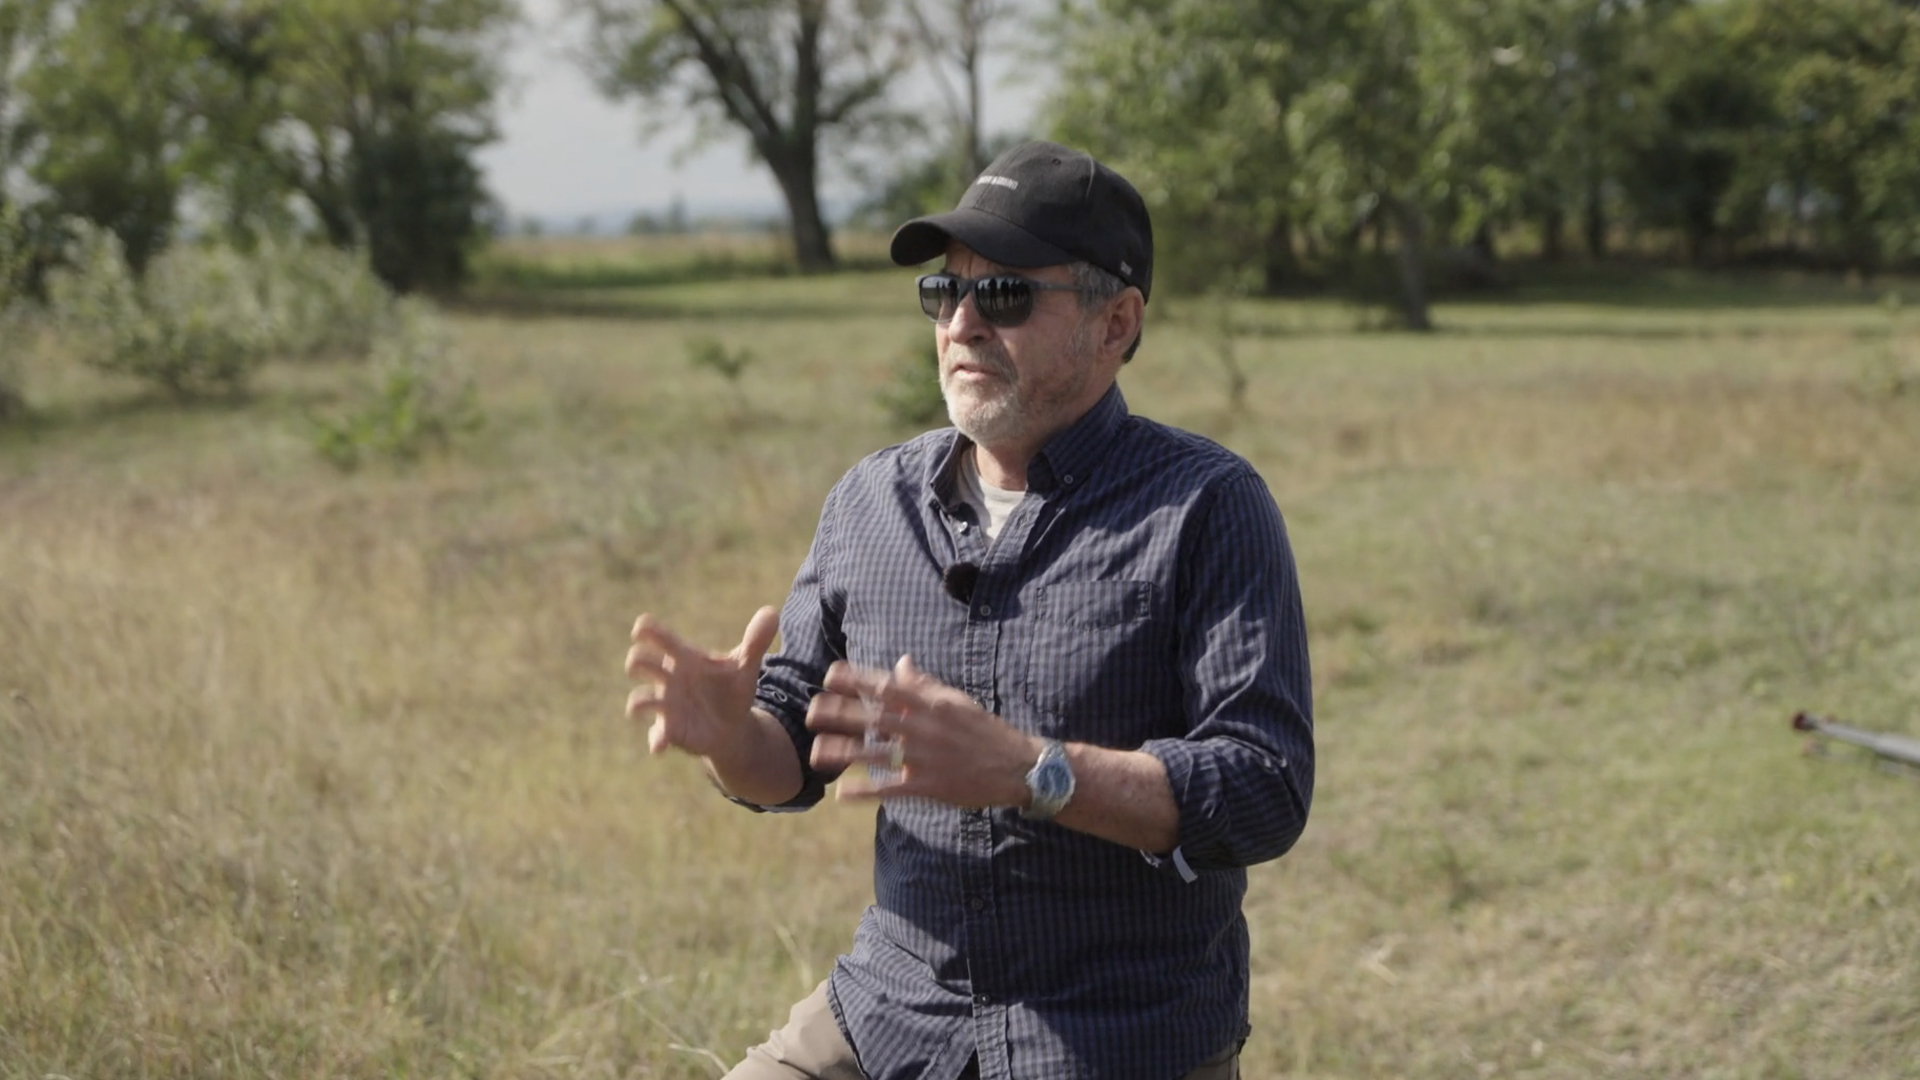
Paul Atkins, ASC is a cinematographer specializing in natural history films. You’ve undoubtedly seen his work. Through his filming, he’s captured wildlife and cultures for National Geographic, Disney, and the BBC, including David Attenborough’s documentary features and series. At the same time, Paul collaborated with some of the world’s most renowned directors on feature films like Alejandro Inarritu on “The Revenant”, or Terrence Malick on “The Tree of Life” and “Voyage of Time”.
He started his journey as a scientist pursuing a Ph.D. in marine biology when he discovered his real passion – portraying the mystery of nature in its pureness. So, he switched to underwater cinematography. To me, this decision alone speaks volumes about Paul Atkins, ASC.
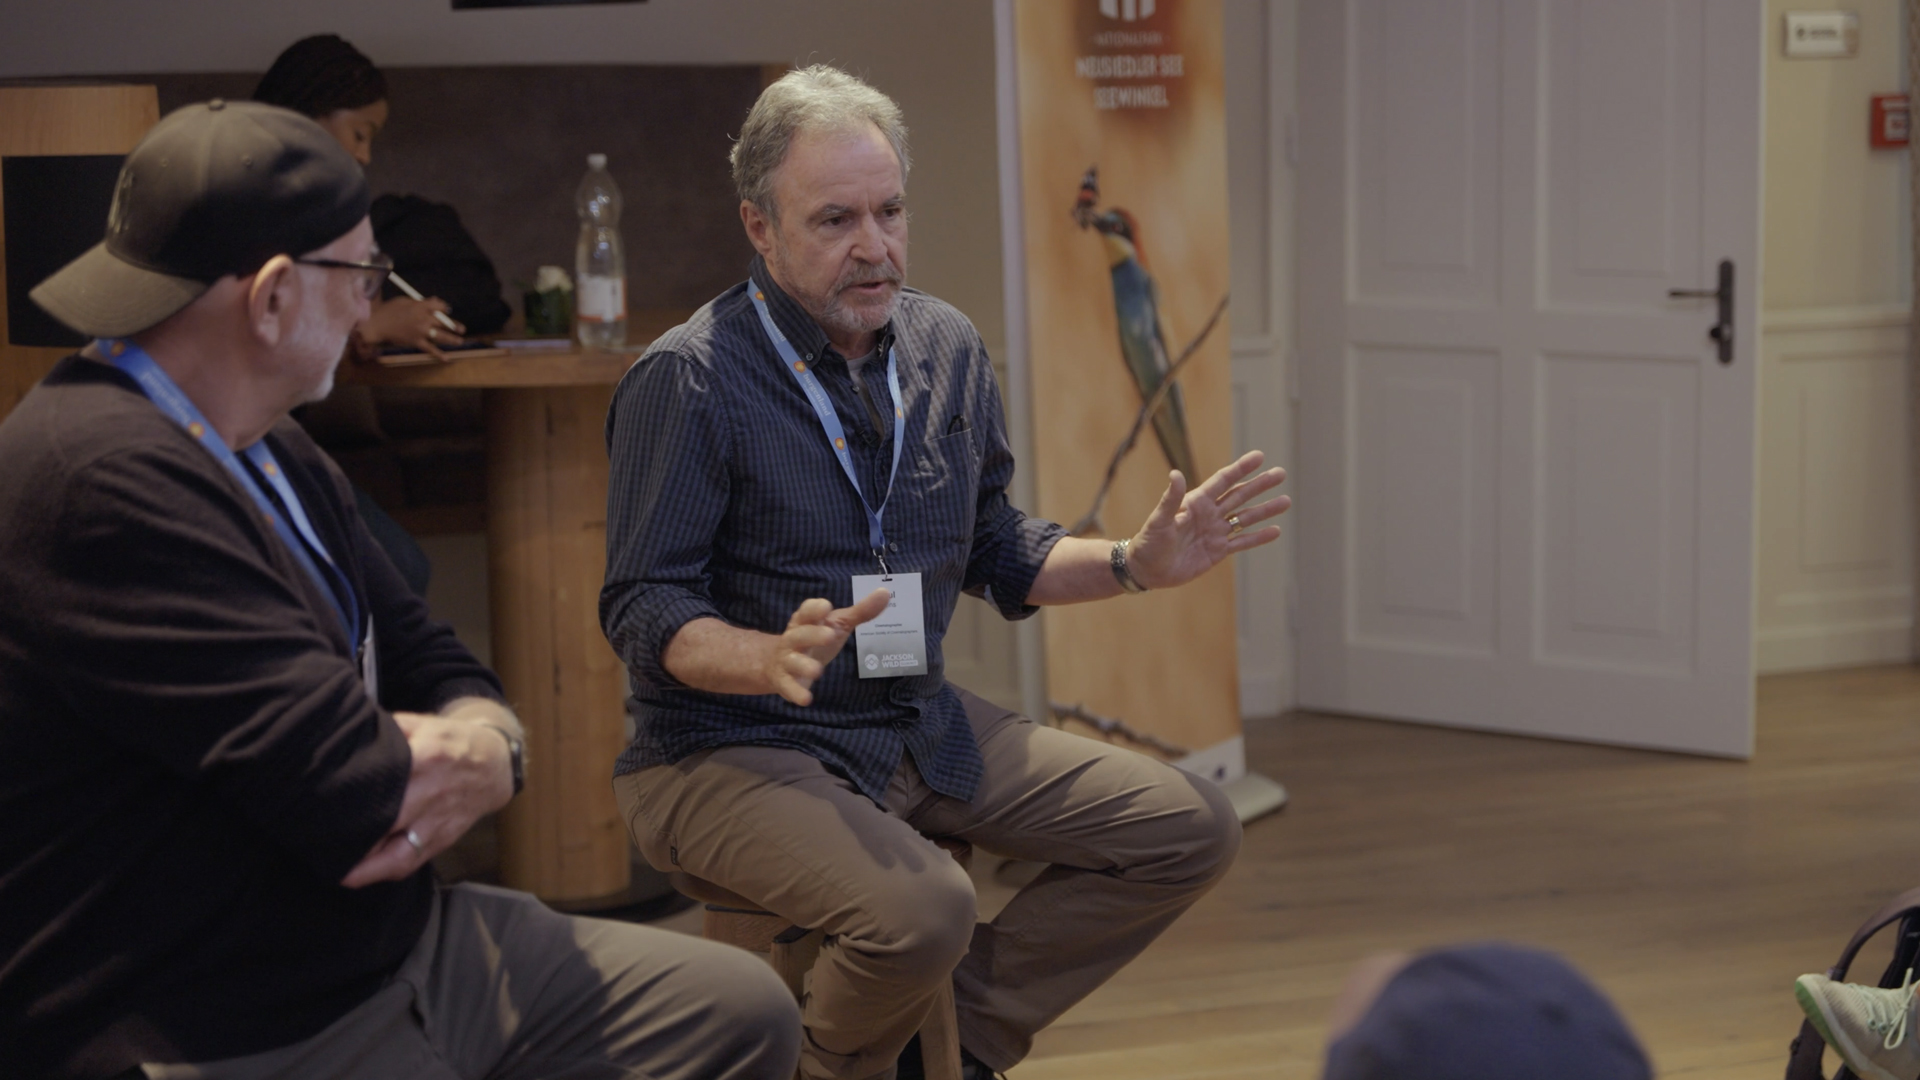
Paul Atkins, ASC, during the introductory session of the course. Image credit: CineD / MZed
Stephen Lighthill, ASC is a seasoned cinematographer, a four-time president of the American Society of Cinematographers, and an educator, overseeing the cinematography program at the American Film Institute. His credits cover countless documentaries, including Oscar-nominated “Berkeley in the ‘60s”, and his most recent one – “The Alzheimer’s Project: Caregivers”. During his career, Stephen also worked on various independent features and TV shows. He believes that as a wildlife filmmaker, your role extends beyond the camera; it involves substantial contemplation of both the narrative and the editing process. In fact, your involvement might parallel, if not surpass, that of directors and producers—occasionally, even exceeding theirs.
Stephen Lighthill, ASC with one of the course students at Jackson Wild Summit in Austria. Image credit: CineD / MZed
Wildlife Cinematography: course outline
Stephen Lighthill, ASC and Paul Atkins, ASC hold their course on wildlife cinematography using a lighthearted and experimental approach. They aren’t trying to cram as many pieces of theoretical knowledge in the heads of workshop attendees as possible. Instead, they send teams out into the field and let them come up with creative choices on their own. (Of course, not without showing them tips and tricks on the go).
After the participants introduce themselves and share their knowledge and experience in wildlife filmmaking, the course is divided into 5 essential parts:
- Theory on natural light and how to deal with it on location (some of the practical tips follow below)
- An experimental component where teams come up with a story only by observing the nature around them, followed by filming the first footage
- A thorough analysis of the resulting videos – what worked, what didn’t, and why. This was probably the most insightful part for me, personally
- Shooting additional material based on previous feedback
- The presentation of the completed short films, followed by a discussion on what impact they made on the viewers.
Tips on lighting: the first thing you should do during the location scout
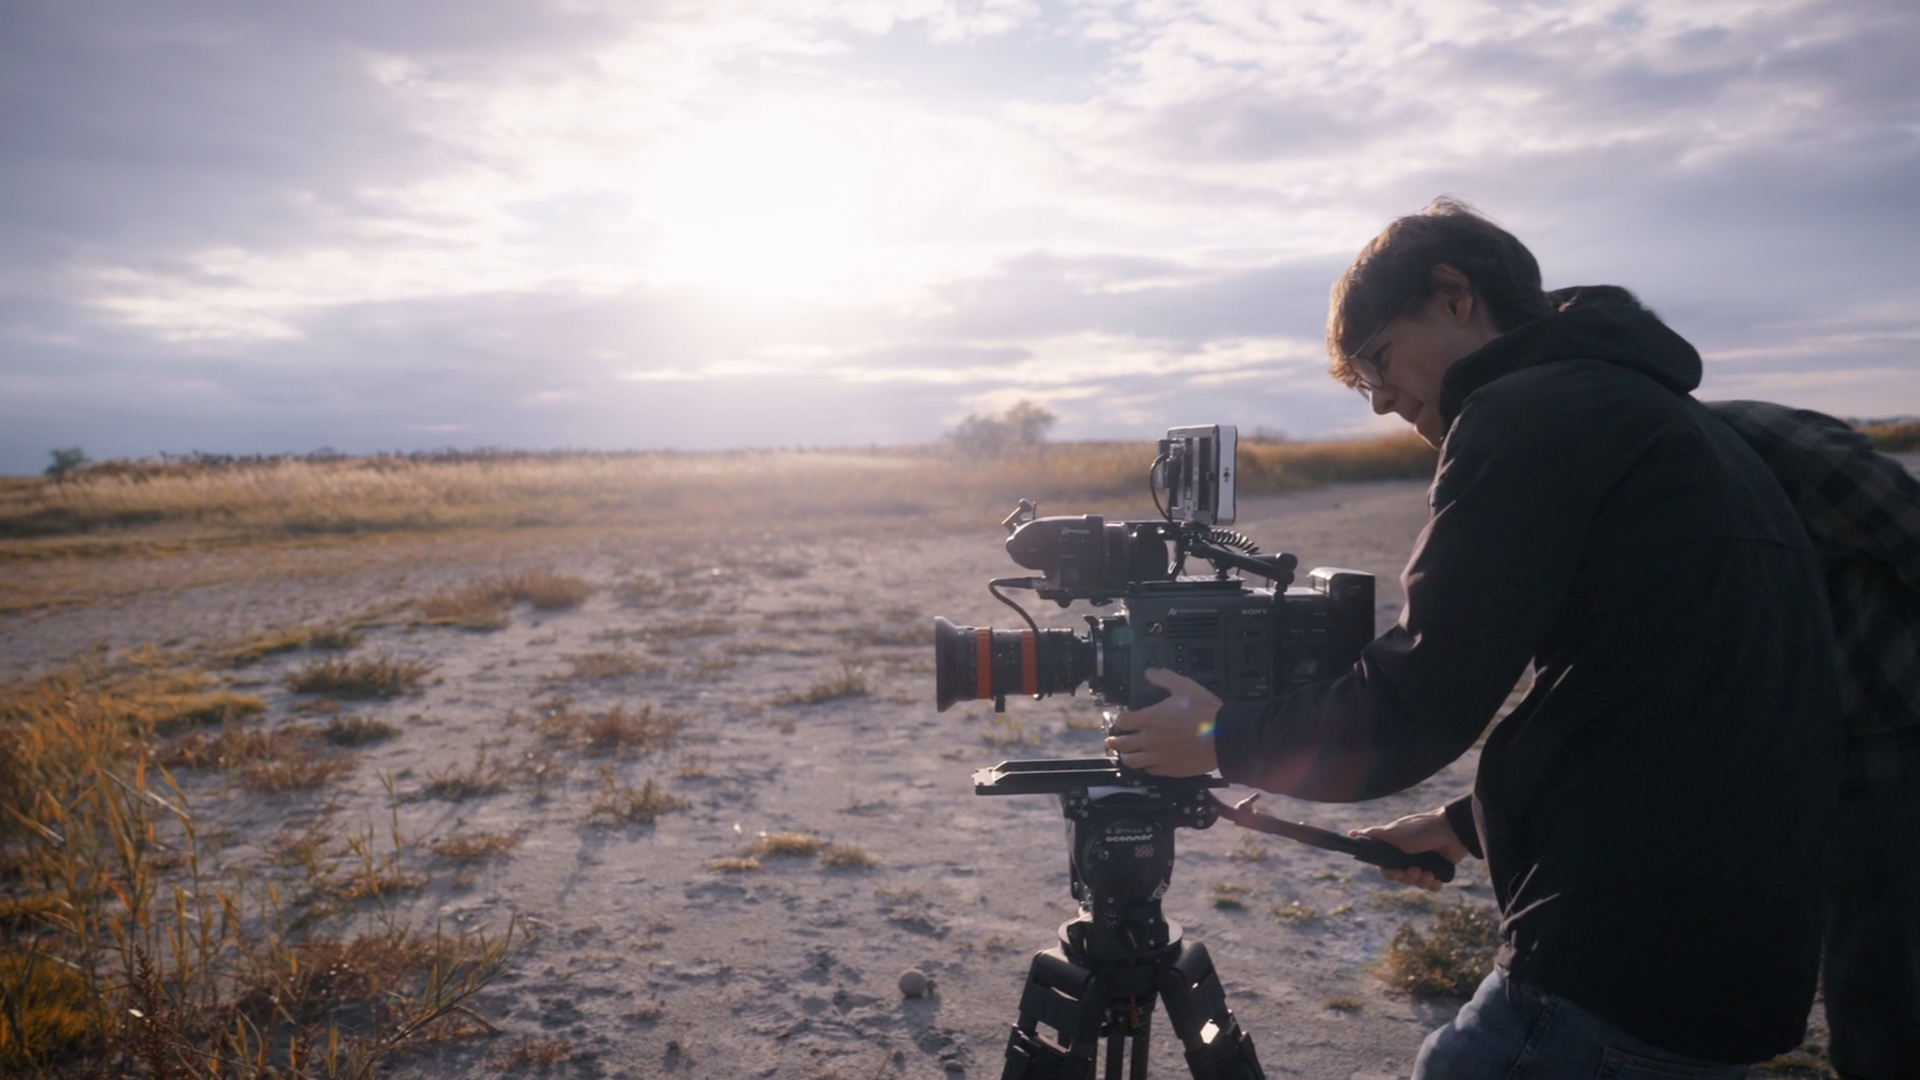
During the second module of the course, workshop participants leave class and relocate to a nearby natural reserve next to Lake Neusiedl in Burgenland, Austria. Here, Paul Atkins explains the first thing every cinematographer should do during the location scout. Namely – determining the sun’s position at a given time for your upcoming shoot.
There are different ways to do it. The most effective one is to use a special app that you know is accurate and that you can rely on. For example, Paul would often arrive at a location, open the “Sun Seeker” app on his phone, and get a diagram like this:
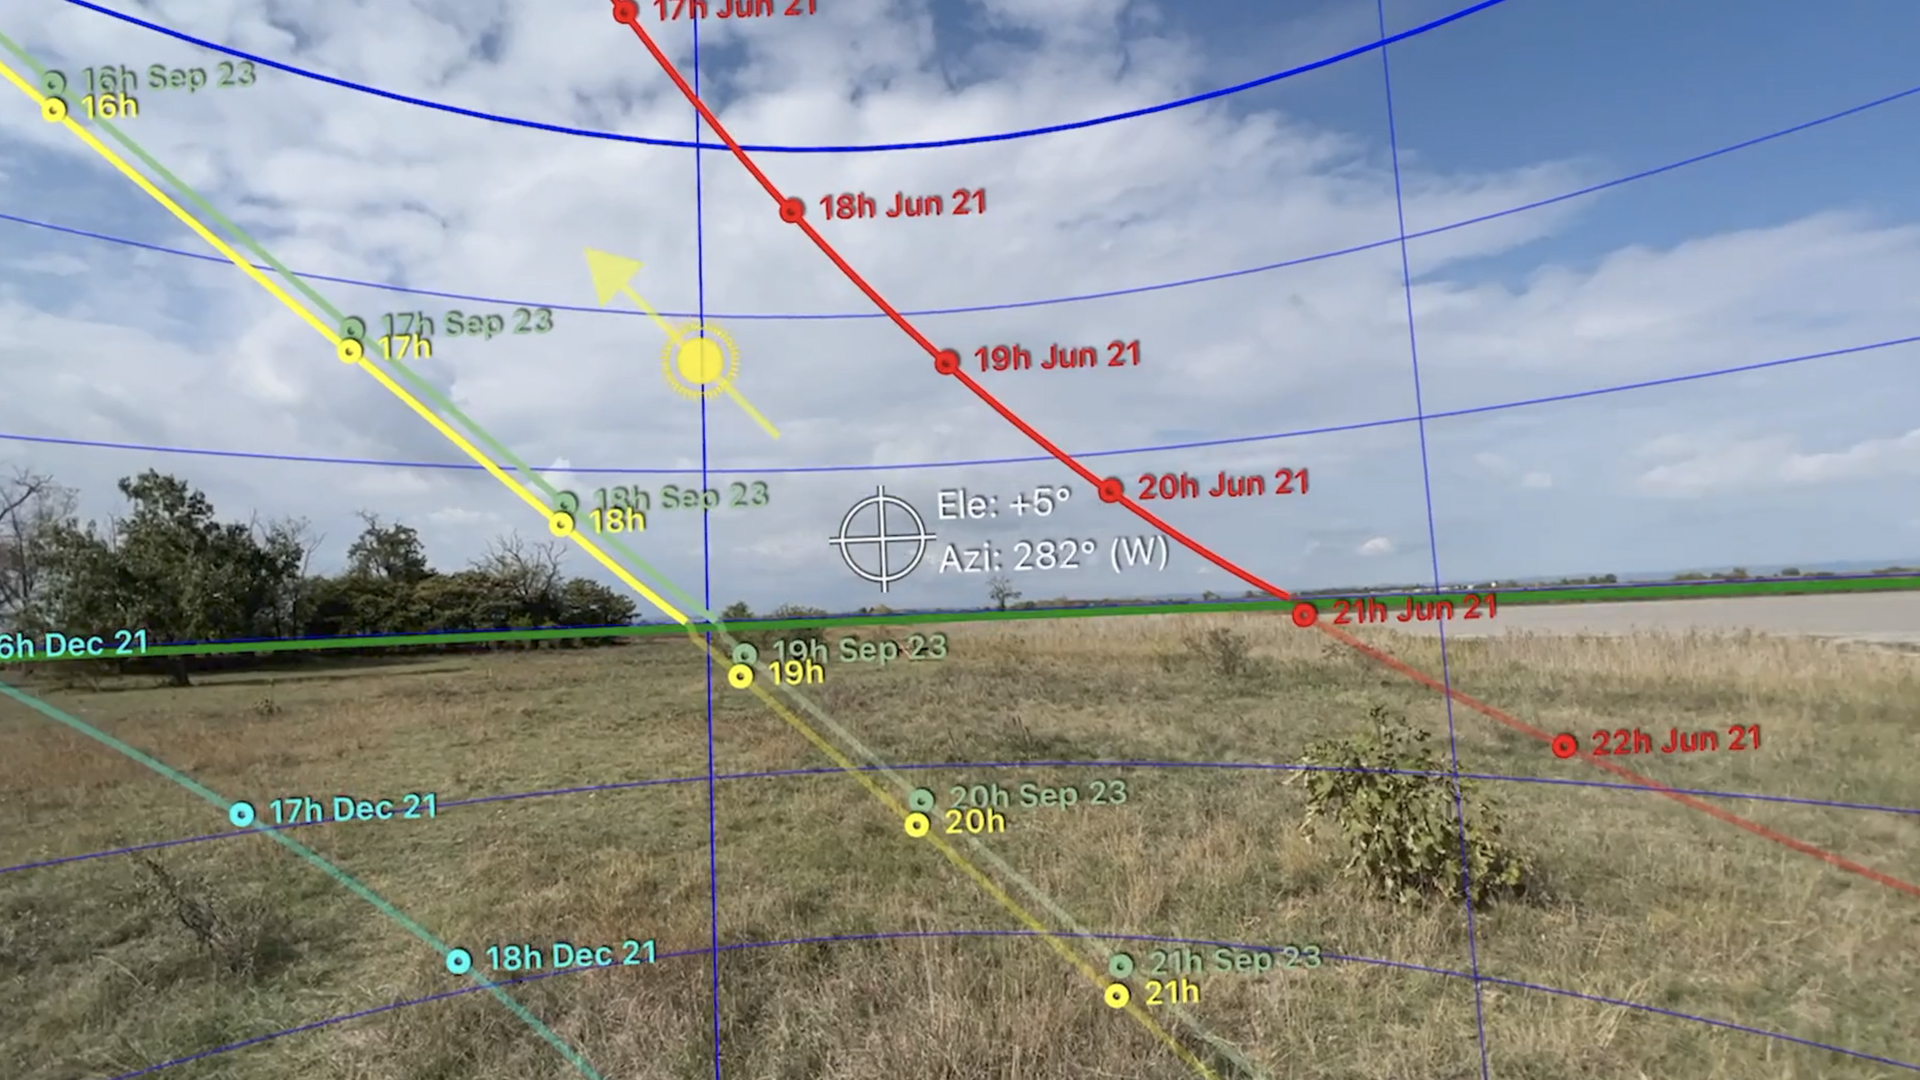
The view of the location in the Sun Seeker app. Image credit: CineD / MZed
Another application that a cinematographer always has at hand is called Helios Pro. Based on his experience, this process can gather an amazing amount of data and even play a very accurate sun simulation over the 3D scene. When you know you’re going to film an interview at this location, you can also place a virtual person in the landscape and see how the light will vary on their face. However, he cautions that it’s important to remember that Helios Pro might not provide accurate results when the sun is not visible, and you’ll have to rely solely on a compass in such situations.
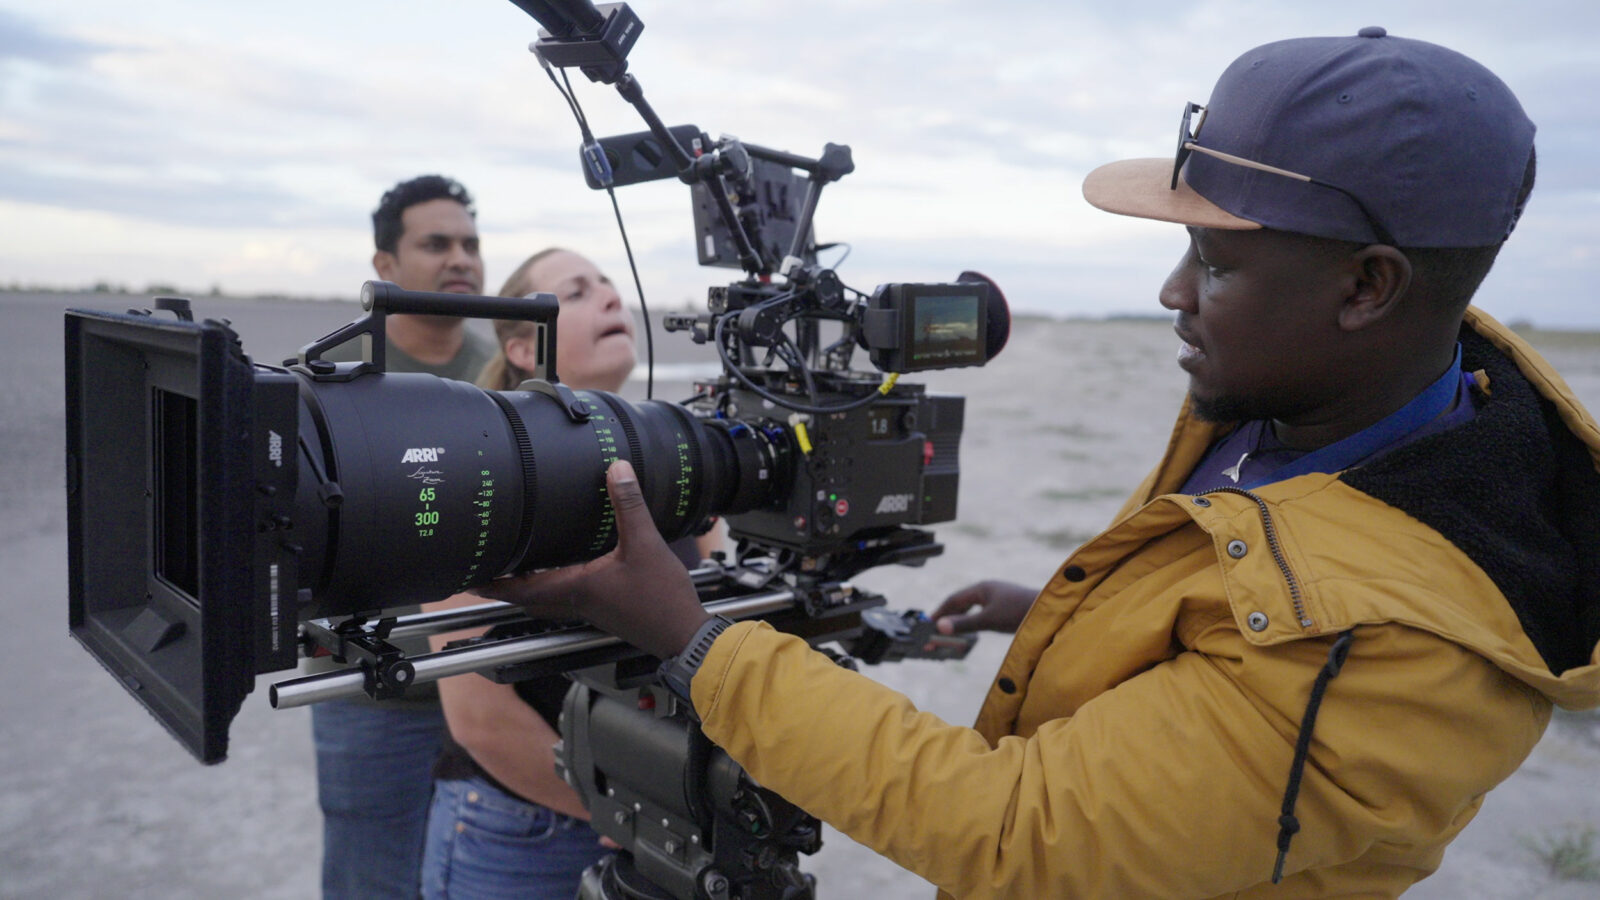
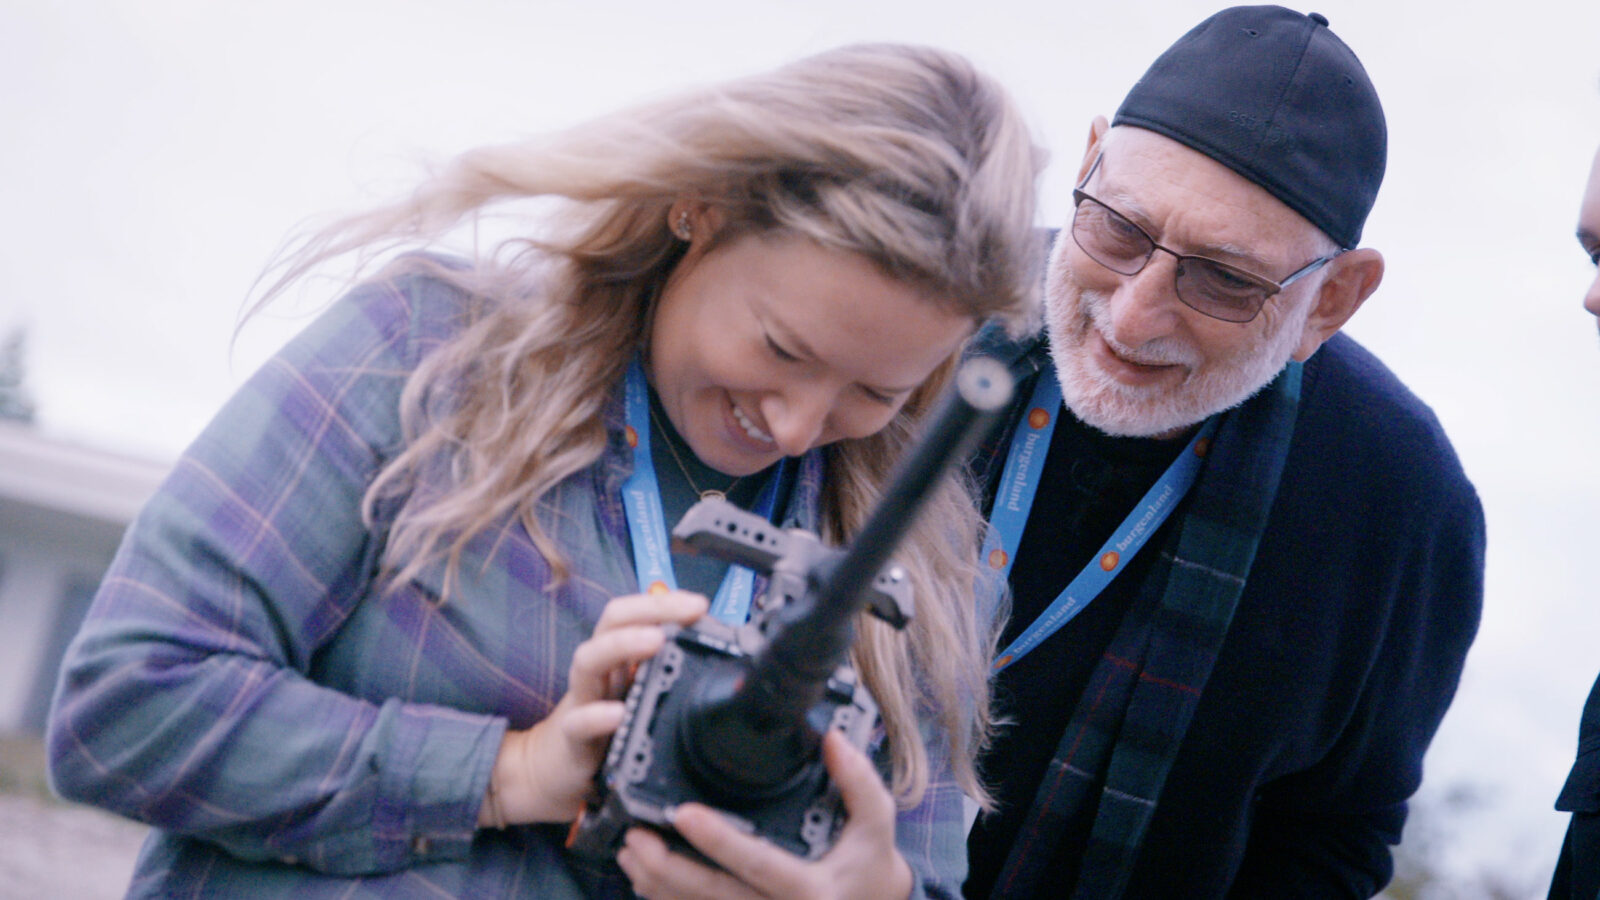
ARRI also supported the course with an ALEXA 35 and a whole team of ARRI experts. Here’s one of our students checking out the lens on the camera. Image credit: CineD / MZed
Why is it imperative to know the sun’s position? Because it will influence both your choice of time for the shoot (setting aside the animal’s activity schedule, which might be more important) and your camera angle. At least, it should. As Paul explains, even on a cloudy day, the relation of the camera’s direction to the sun can significantly impact the quality of your shot.
Why is choosing backlight always a good idea here?
Once you have established the sun’s path at the shooting location, you can use this data to select optimal angles. Here, Atkins would always go for back and sidelight as much as possible. First, obviously, backlight is aesthetically pleasing to the eye, giving us a beautiful outline of the subject in the frame. Secondly – and most importantly – compared to front lighting, which makes images look flat, a backlit terrain provides depth, separating the foreground, middle ground, and background from each other.
Paul Atkins, ASC explains the basics of natural lighting. Image credit: CineD / MZed
Another reason that backlight is always a good choice during wildlife filming is continuity. Let’s say you have to shoot a behavioral sequence for a specific animal. With some luck, on the first day, you get a great wide shot of the action that you were looking for. Afterward, you come back several times (possibly at different times of the day, depending on the animal’s behavior) to shoot inserts, cutaways, and other angles to make your sequence work. If you film all of it in backlight, no one will ever notice the change in time. Shooting with front light, on the contrary, can reveal even the slightest time variation. Please note here that backlight doesn’t mean you have to see the setting sun in your shot.
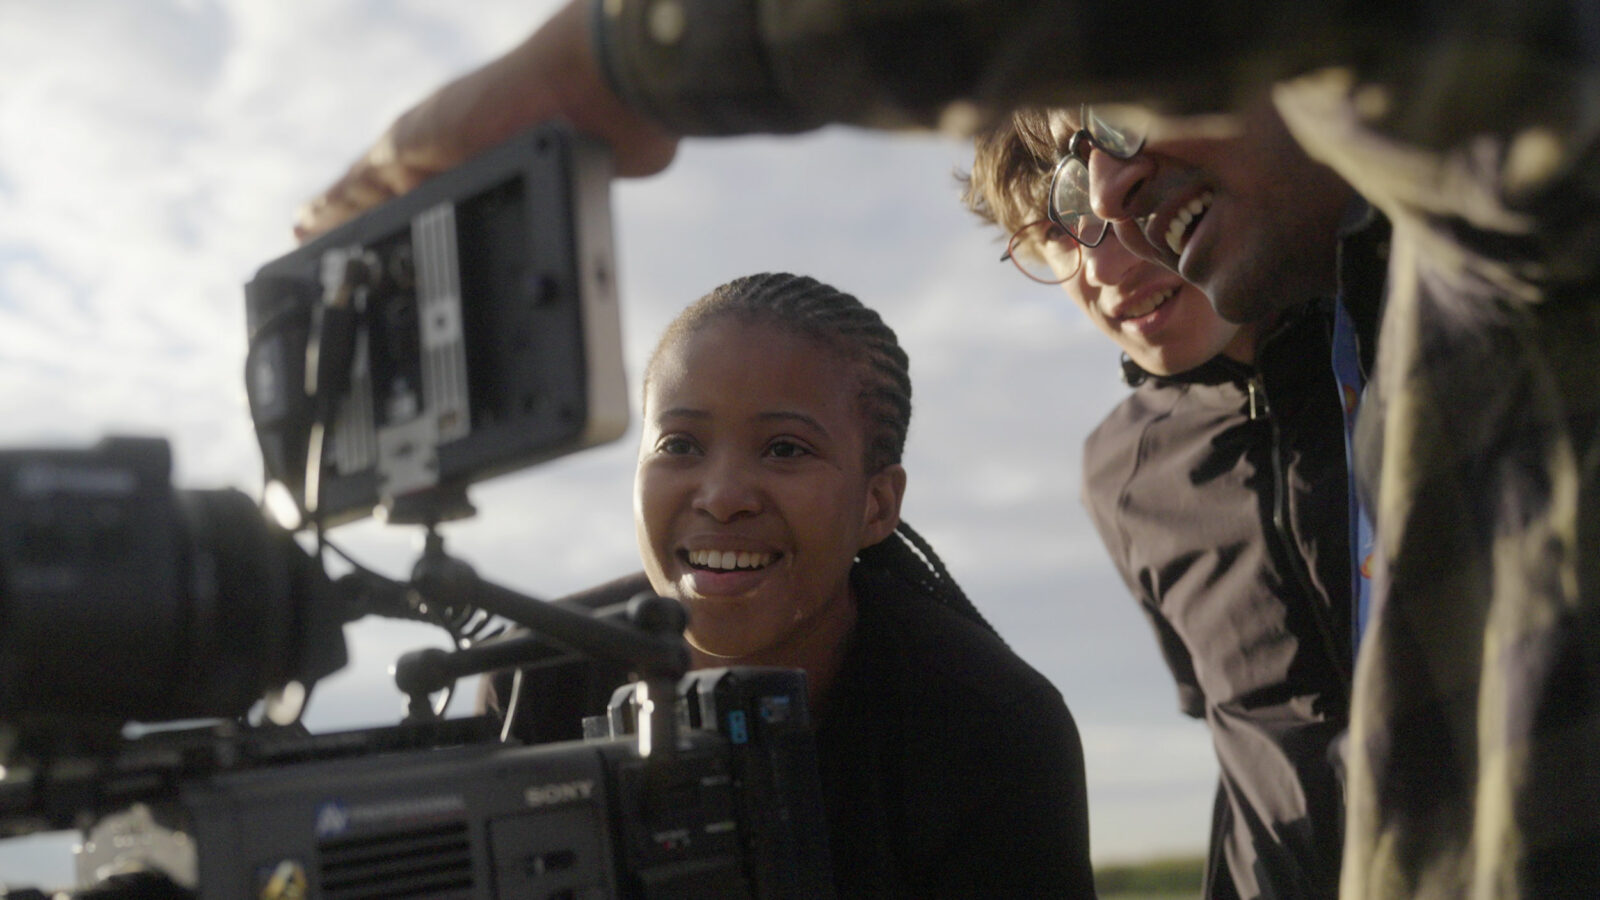
Students filming in the dry lake, looking for remaining wildlife after the drought. Image credit: CineD / MZed
You might ask: but what if I have to react quickly, and don’t have time to think of a perfect camera angle? It’s not a rare situation for wildlife filmmakers, after all. Well, that’s what pre-production and location scouting are there for. As a cinematographer, you should still try to get the best possible shot, in perfect light and with framing that tells a story. Yet, of course, no rule is hard and fast.
You need to be able to be patient, patient, patient, and then spring into action. It’s like hours and hours of boredom punctuated by a few seconds of pure panic. That’s what it is. And in those moments of panic, you must not panic. - Paul Atkins, ASC
Telling a story
You may know this rule from filming fiction, but it applies to wildlife cinematography as well: every shot tells us something. It directs our gaze toward a specific object, pushes the story forward, or releases an emotion in viewers. Hence, when you find yourself with ample time before hitting the record button while filming, remember to think about your image composition. For example, use leading lines (we have a detailed piece on this here), be aware of the shot’s components, and, if you move your camera – please know why. Stephen Lighthill explains how it works in this picture of water bugs:
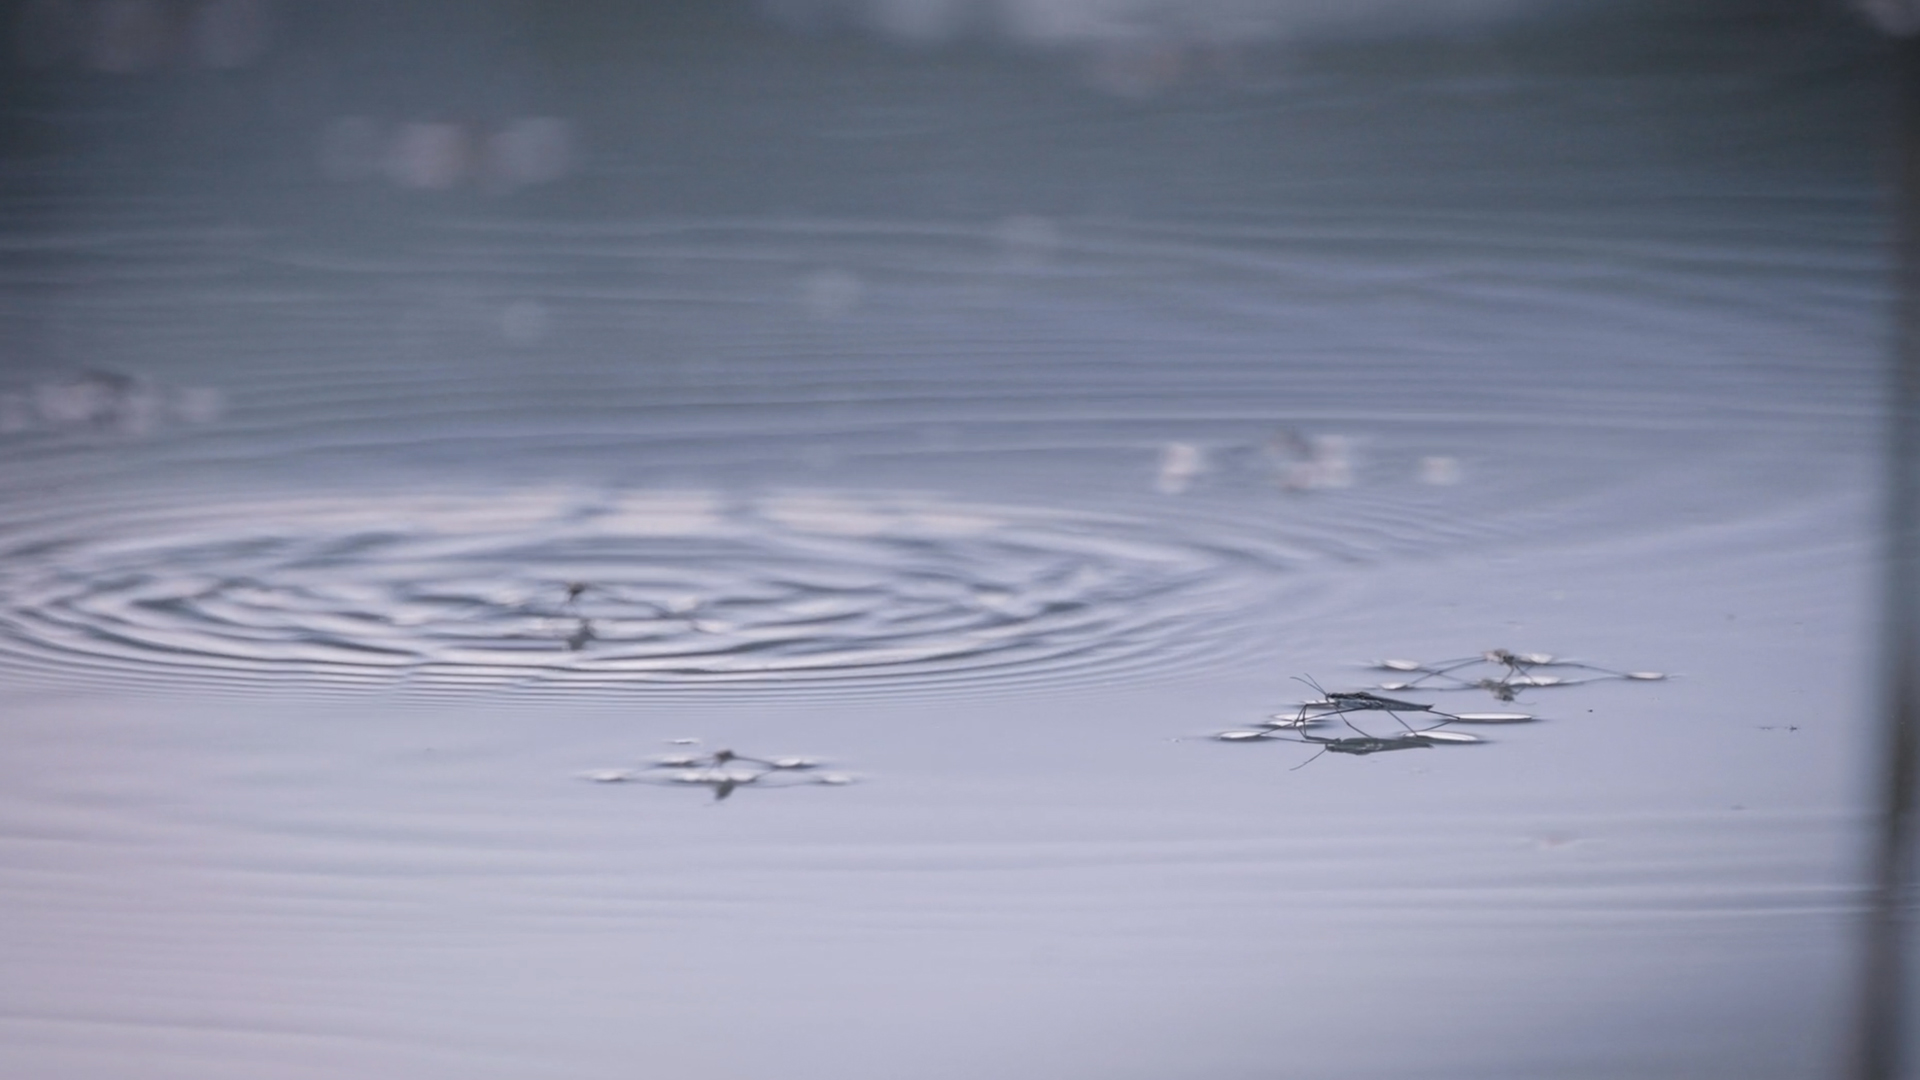
A shot from one of the final videos. Image credit: CineD / MZed
The film team made this macro shot to underscore their story of how this natural area used to be a home to life before the lake was drained. Stephen thinks the shot doesn’t really work as intended. However, if the filmmakers had angled the camera slightly during the shot and pulled the focus from the mosquitoes to dry ground, it could have evoked a much more powerful emotional response and conveyed a poignant message: there used to be water, but not anymore.
Another possibility to create a consistent story is to see the images in their relation to one another. In fiction productions, it’s a normal preparation process called scene breakdown. In wildlife cinematography, you usually think of it on the go, adjusting your plans to the surrounding conditions.
Other tips and techniques from the experts
All of the above is just a fraction of the knowledge you can gain by watching our course on wildlife cinematography on MZed.com. In more than 4 hours of video, Paul Atkins and Stephen Lighthill touch on such topics as pitching your story, communication between DPs and producers, style sheets, how to perfectly prep your camera and lenses for every wildlife shoot, and even how to behave in front of wild birds. They go into the technical settings of various cameras, share tips on how to achieve a smooth, stable pan, how to follow an animal with a long lens, and explain what your index finger can tell you about the sunset.
Students finding the right shot with Stephen Lighthill, ASC – Image credit: CineD / MZed
How it all happened: ASC supported by CineD & MZed at Jackson Wild Summit in Austria
Last summer, the American Society of Cinematographers (ASC) reached out to CineD for help during their Cinematography Lab class held as part of the Jackson Wild Summit in Burgenland, Austria, and CineD / MZed was happy to support with manpower and logistics. Thanks to local Austrian rental and gear powerhouses AV Professional, Bobo Studio, and Lightbridge, we were also able to support by providing lots of additional gear from these companies. When the ASC asks, we are all happy to help. About a dozen young wildlife filmmakers from around the world were invited to take part in the workshop for free, but we wanted to share the experience with the world.
On top of supporting the ASC Wildlife workshop, we showed up with a whole crew filming the workshop from start to finish. Shot by our very own Nino Leitner, AAC and Jakub Han, and assisted by Florian Milz alongside sound recordist Philip Pflamitzer, the four workshop days were covered from start to finish. Then it took seasoned editor Stephan “Sly” Silwester to condense and craft the dozens of hours into slightly over 4 hours of workshop material, which is now available exclusively on MZed.